
Receptions, candlelit ceremonies, and dim getting-ready rooms produce some of the most emotional footage of the day — and some of the hardest to edit. Wedding video low light editing is the art of rescuing dark, noisy, colour-cast clips without making them look worse. With the right order of operations, even tricky footage can be salvaged. Here is how to do it in Premiere Pro.
Why low-light footage is hard
Dim footage stacks three problems at once: underexposure, visible noise or grain, and colour casts from candlelight, uplighting, or DJ washes. The trap is that fixing one worsens another — lifting a dark clip to recover the image also amplifies the noise and exaggerates the colour cast. Good wedding video low light editing is about tackling them in the right order so they do not compound.
Reduce noise first
This is the golden rule: denoise before you grade. Lifting shadows on a noisy clip multiplies the grain, so clean it first. Premiere’s Reduce Noise effect handles light cases; a dedicated tool like Neat Video earns its keep on heavy reception grain. Apply it gently — too much noise reduction turns skin and detail plasticky, which reads as worse than a little honest grain.
Lift shadows without crushing the image
With the noise managed, raise shadows and blacks carefully using curves rather than slamming the exposure slider. Protect the highlights so candles and lights do not blow out, and add a touch of contrast back so the image does not go flat and milky. Do not try to turn night into day — keep the mood; you are recovering detail, not erasing the atmosphere that made the moment.
Fixing colour casts and mixed lighting
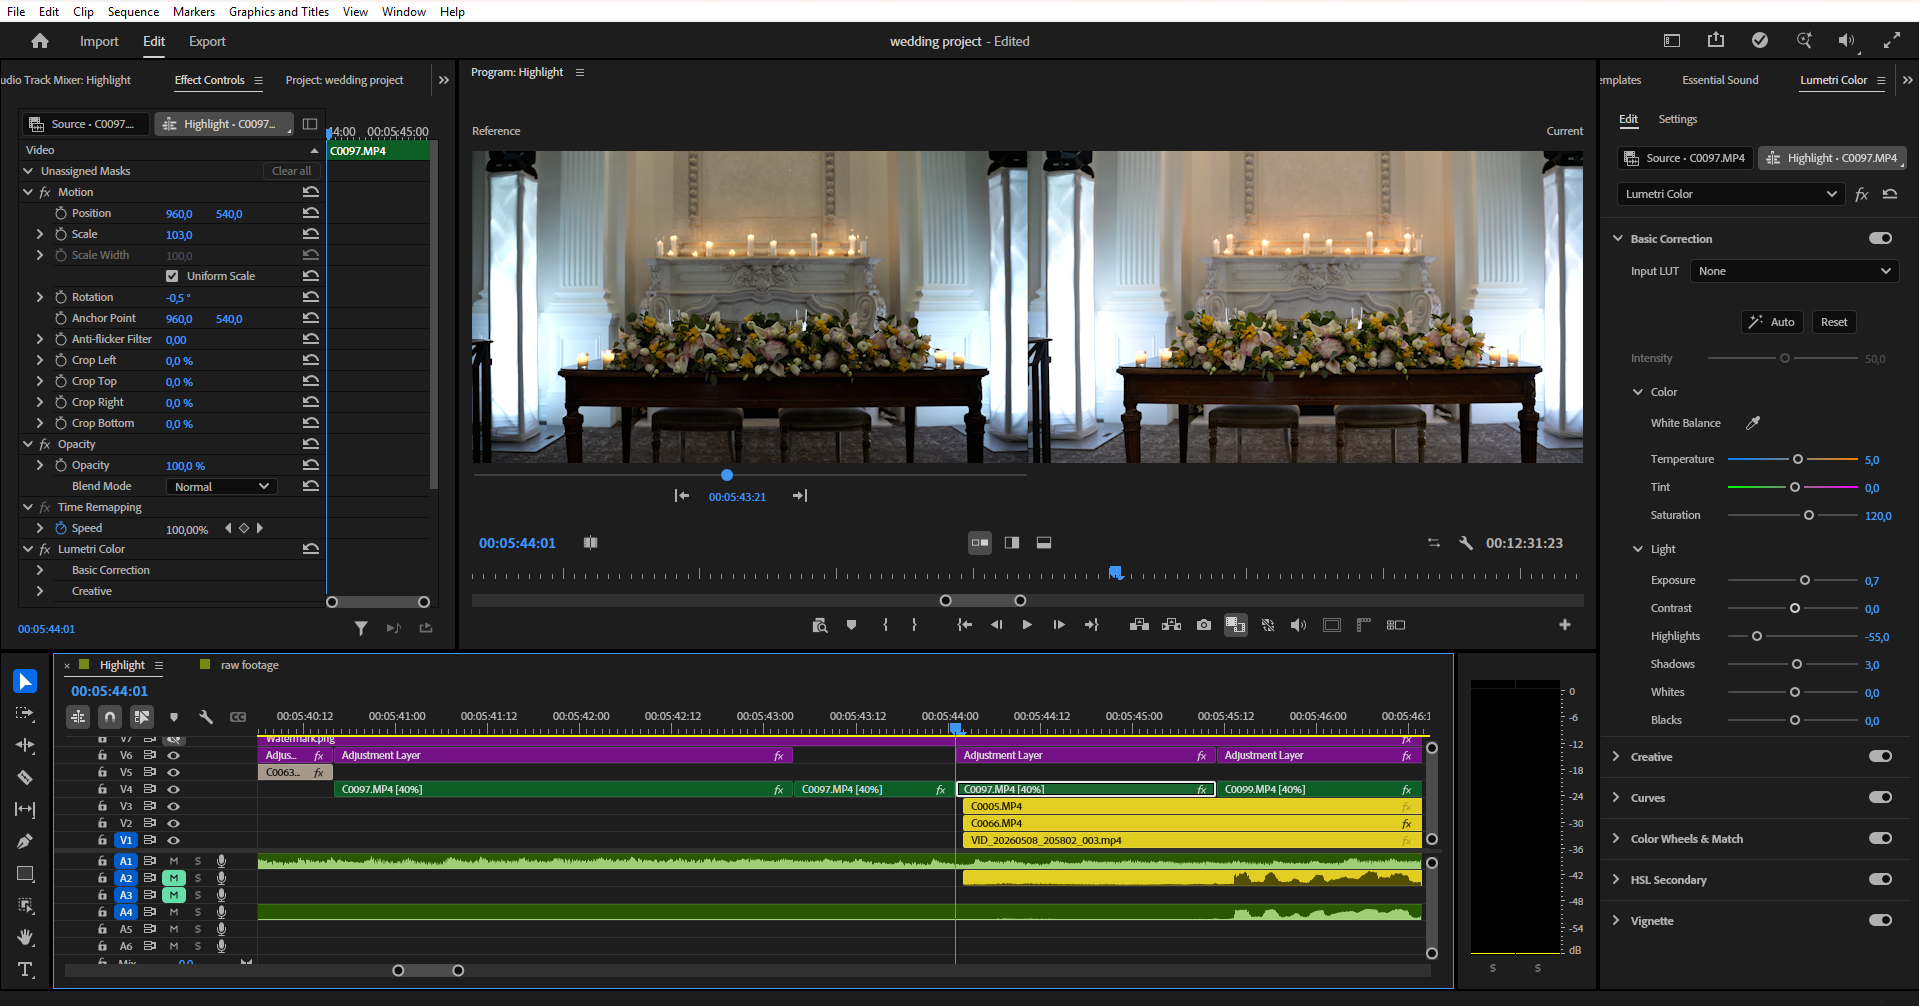
Dance floors and uplighting throw magenta, blue, and green across everything. Correct the overall white balance first, then use Lumetri’s HSL Secondary to isolate skin tones and bring them back to natural while leaving the coloured background lighting as mood. Our guide to wedding video color grading walks through the secondary workflow in detail.
Grain, and the limits of rescue
A little grain can be cinematic — embrace it rather than scrubbing the life out of the clip. But know when footage is genuinely unrecoverable, and lean on a better-lit angle instead. This is one more reason multicam wedding video editing is worth it: when one camera is hopelessly dark, another angle gives you a usable option.
The tools for low-light editing
Most of the work happens in Lumetri — the Basic panel and curves for exposure, HSL Secondary for skin, and the Lumetri Scopes so you are lifting to the waveform rather than guessing on a bright laptop screen. Add Neat Video for serious noise. Adobe’s colour grading overview covers the panel sections you will be living in.
Prevent it at the shoot
The best low-light edit starts on the day. Expose a touch brighter than feels natural (it is easier to bring down than lift up), use fast lenses, and add a small on-camera or ambient light at the reception. Footage shot with low light in mind takes a fraction of the time to rescue in the edit.
When to outsource the edit
Rescuing dim footage is slow, fiddly work, and a reception full of it can swallow hours. When that work backs up your delivery, handing it off keeps your turnaround intact.
Love Story Editing handles tricky low-light footage as part of our wedding video editing service. Choose a teaser edit, a ceremony edit, or a full wedding film, see the work on our video portfolio, or request a quote.
The takeaway
Wedding video low light editing comes down to order: denoise first, lift shadows carefully on the scopes, fix colour casts with secondaries while keeping skin natural, and preserve the mood rather than erasing it. Know when a clip is beyond saving and reach for a better-lit angle — and when dim footage floods your timeline, it is a natural stage to hand off.